
Since I got my Fat Boy I’ve wondered about going full ‘Monty’ tubeless. The Internet communicates some wonderful success and failure stories about this very thing, enough of them to keep a reader entertained and or to stop procrastinating further about trying to justify the change and just go and do it.
It took me two weeks to make up my mind to go tubeless.
Again the Internet chimed in with some fine examples of tubeless application methods, there were three methods I decided to give a shot.
Method 1: Use a smaller tube, cut longways and opened up. This forms the inside “sealing” part and the tyres go on top. Add some Tubeless Sealant and blow it up.
Method 2: Buy a Tubeless Kit. http://fattystripper.com/
Method 3: Use Tubless sealing tape, taping the rim excessively. Use a tubeless Valve stem. Use lots of sealants.
As of writing, I only got to method 1. Call it a DIY. It is a similar set up to a Tubless kit from FattyStripper.
Tackling this sort of job you do have to do some prior research.
The first thing you need to look up is if your Rims are tubeless ready. My Rims (being made in 2014) were not designed for a tubeless setup.
A tubeless ready Rim is purposely designed with an edge/rise/nibb on the outer inwards edge of the Rim so that the tip of the tyre (tyre bead) can seal against the Rim creating an airtight seal.
To get around this dilemma, you only really have 3 main options.
- Change your Rims (yeah go Carbon! whooho $$$$)
- Stay with tubes. (Yeah but… tubes are heavy)
- Create an edge that the tyre can bead against. (Ok, let’s do this one)
Not wanting to give up and also not wanting to spend money on carbon Rims (or another set of alloy Rims ready for tubeless) I obviously went with option 3.
Since we are at this point in this post, its a good time to reflect on why it is you need to go tubeless, or more accurately why I needed to go tubeless.
My justification primarily is to simply reduce bike weight where I can (Completely selfish I know), secondarily is to self manage any punctures I may incur on my cycling journeys.
Because I do big long rides and can be out in the middle-of-nowhere at times and also the fact that a 4.6″ bike tube is not that common, I will still need to carry a Fat Bike tube and a pump. (hence the use of the frame bag to carry all this heavy stuff)
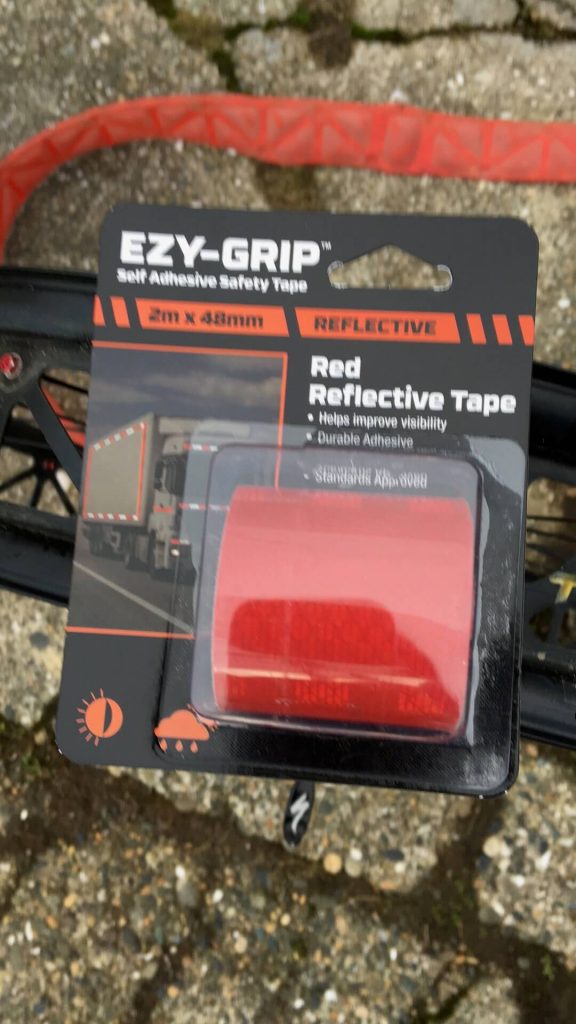
During my Internet searches, I also discovered that some Fat Bike owners changed the Rim liner strip to a reflector strip. You can have different colours, Red, Blue, Yellow etc. You can also see this on http://fattystripper.com/
Because I do a fair amount of riding in the dark early hours of the morning, this seemed like a sensible idea to me. When you think about it, you have a front and rear light and maybe a white MTB helmet and a Jacket/top with a reflector but the rest of your overall makeup (being say 70% a Bike Frame and Wheels) in the dark is simply a black silhouette of you, highlighted by any near light sources.
Personally, I don’t like reflectors on the bike spokes nor would I do a flashing light there either (so when you wheel turns you make a cool pattern). However, reflector Strips on a 4.6″ Rim where the Rim liner sits, looks really RAD as. Oh, plus it is of course purely for rider safety… and the safety of others…
So here was my great plan.
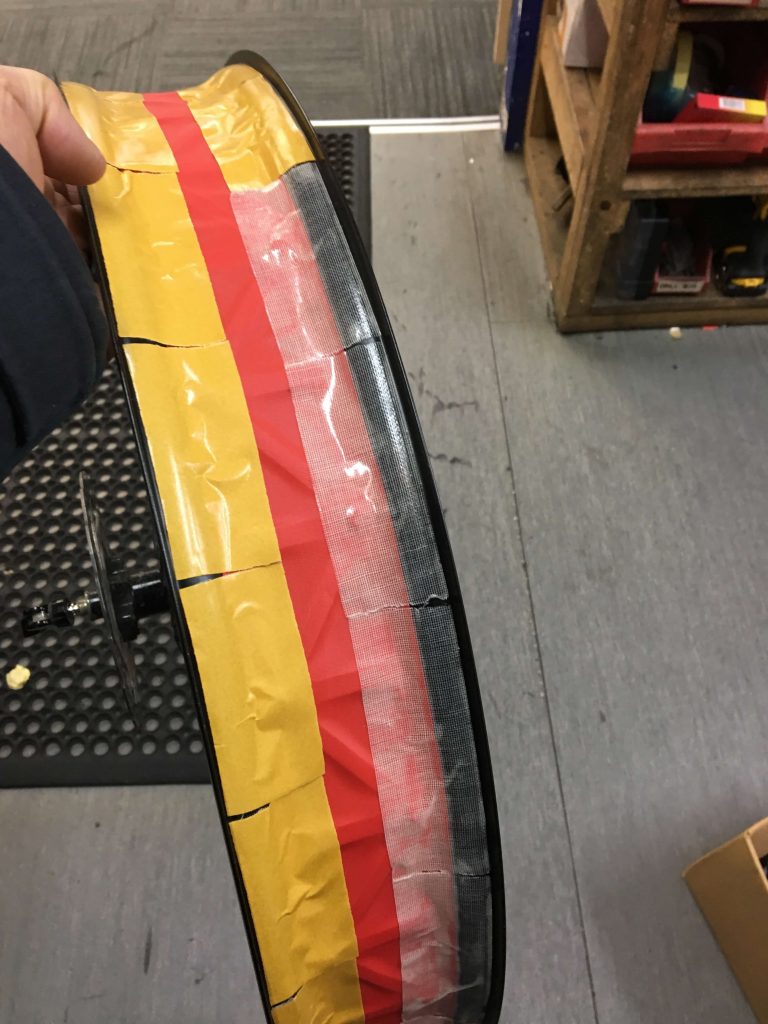
Buy reflector tape
Work out how it gets attached to the RIM (by pulling apart the RIM first and understanding how the liner works)
Buy some smaller tubes with Presta Valves (removable inner valve), longways cut them and use them as a bottom seal for the tyre. Tubes I used were 24″ 1.75 wide.
Get some double sided tape, stick the cut tube down to Rim
Throw Tyre Sealant in
Use a compressor to blow it up
Ride off into the sunset (Sunrise really as I ride mornings mostly remember)
The Easy, The Hard and The Delegation.
The Easy (Pulling shit apart sticking things together)
If in doubt, check it out.
I like to pull things apart with the goal of maybe putting it back together or at least hiding what I did so no one knows I broke it.
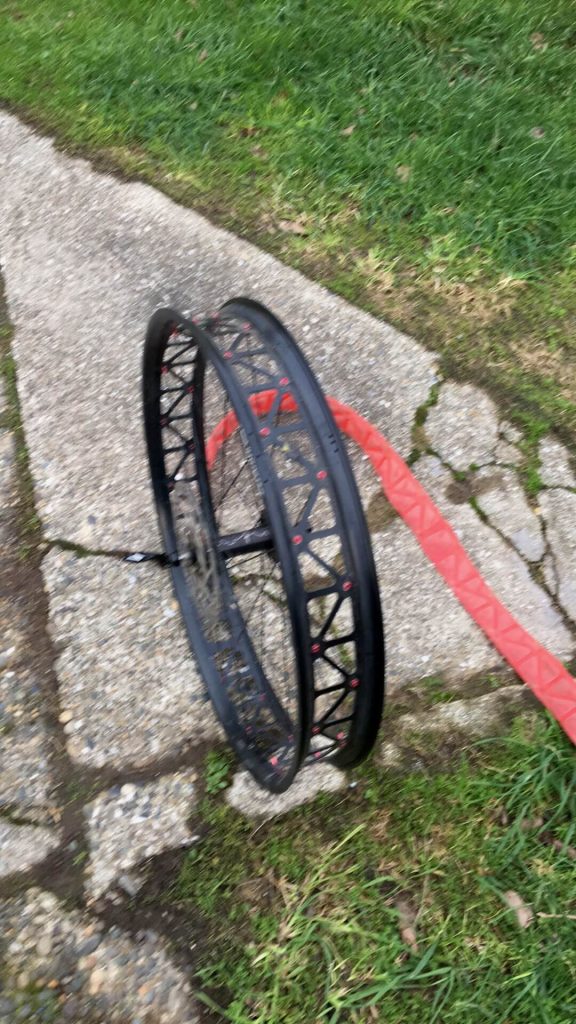
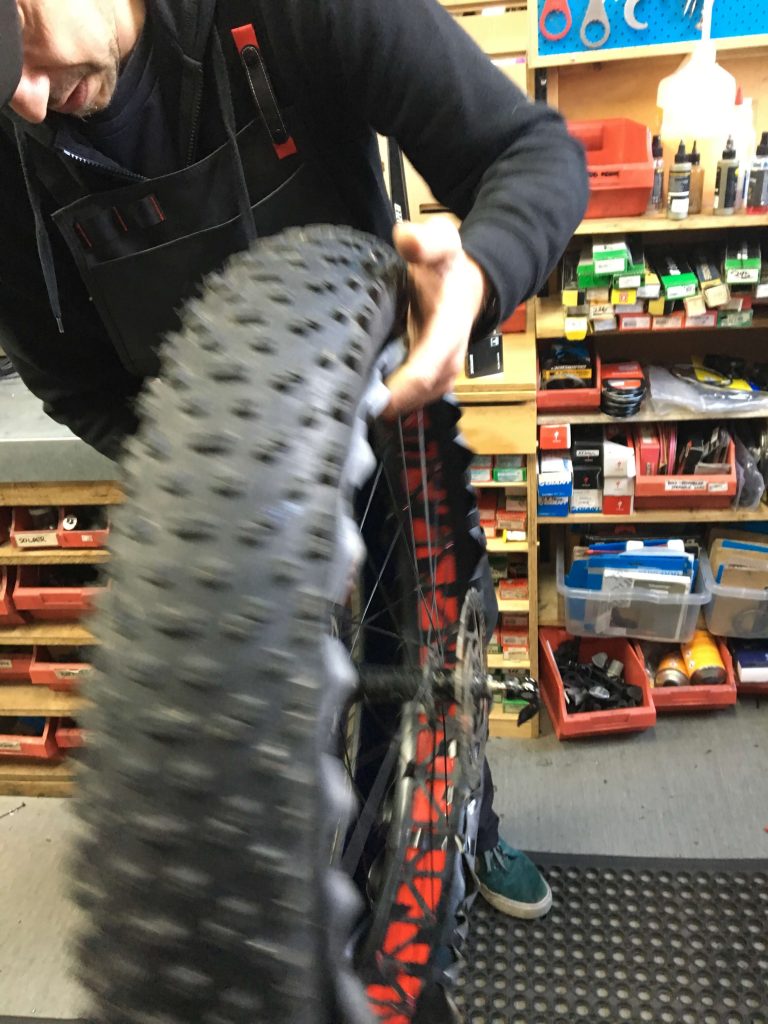
Pulling the Rims apart was easy.
The Tyres just pop off. (Ground Control Tyre, probably the original, has heaps of tread on it. Lady owner last 3 years…)
The tube comes out (massive Tube) and you are introduced to the liner.
The liner is factory and it wrapped around the Rim held together with Velcro. Simple as off she comes. The RIM got instantly lighter.
When you are at this stage, you must wash/clean the Rim, scrub years of riding off the RIM liner and brush any dirt/crud off your tyre.
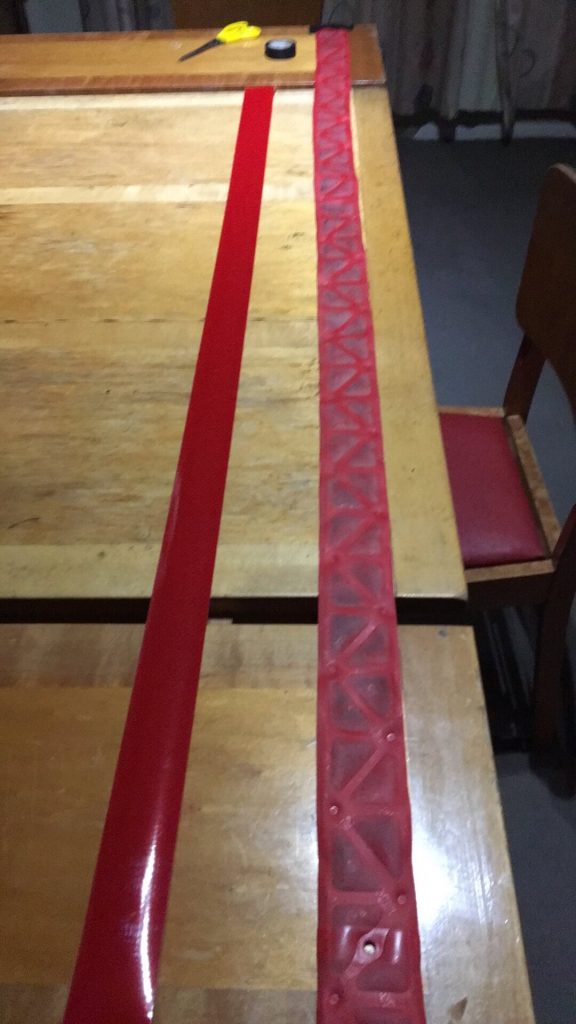
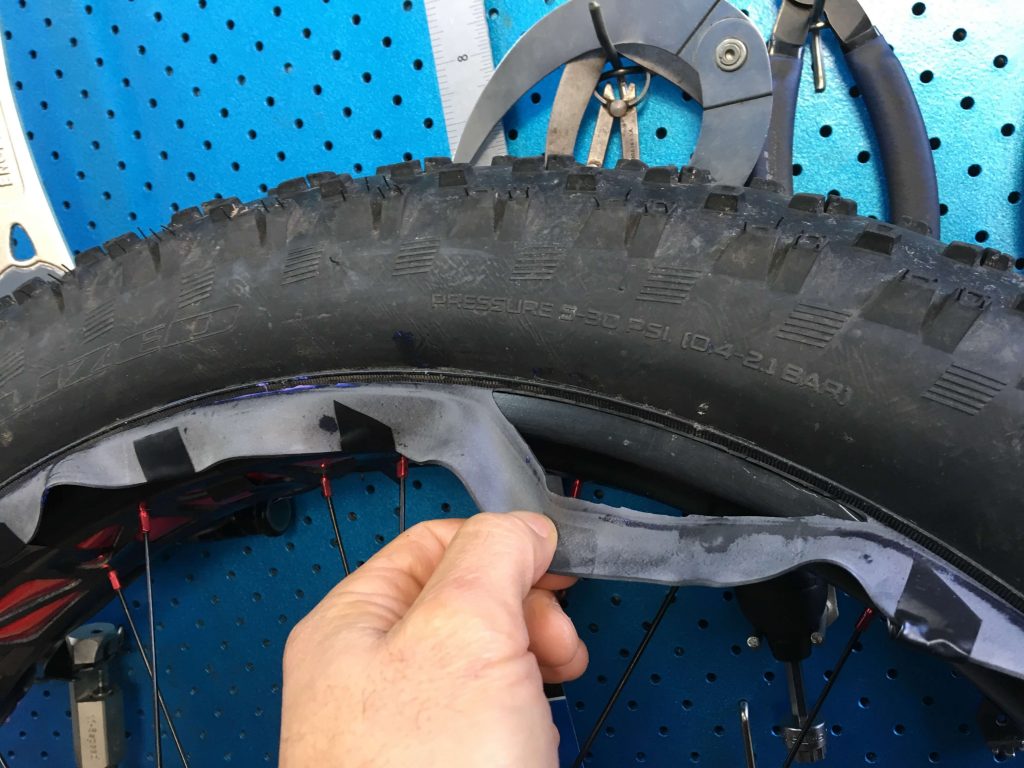
The Rim liner is moulded to the cutouts in the Rim. The cutouts reduce the weight of the Alloy Rim. Plus looks cool.
Once it was clean, the one-sided adhesive Reflector Tape sticks onto the Rim Liner so that the Reflector Stip now sits in the factory gaps of the Rim, eventually it will mould itself to the gaps over time.
It made sense to reuse the liner. I figured that Reflector Tape + Liner (which held it in position on the RIM) then + tube cut longways would be a good combination.
The reflector tape strip is firm enough to not allow anything through to puncture the tube. i.e pebble, sticks.
You just need to get the reflector tape evenly positioned in the centre of the Liner strip and stuck down firmly.
Of course, I used the Dining Room Table to do all this important Bike work.
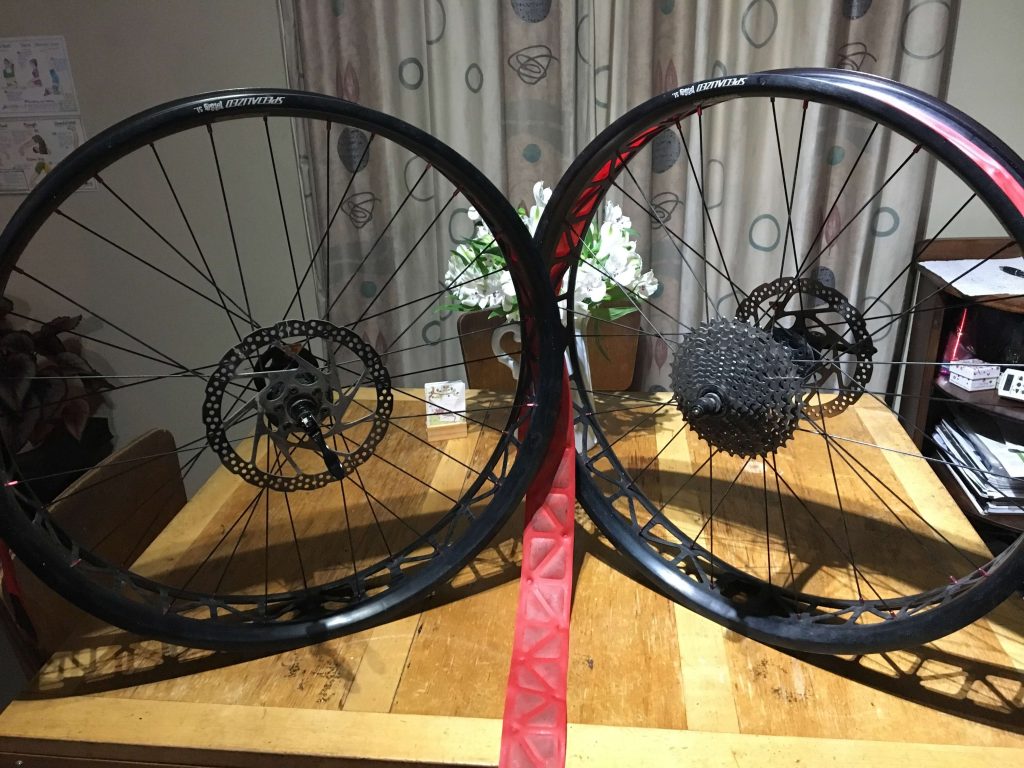
When you put the liner/reflector combo back onto the Rim, she starts to sparkle. (like a G6)
The Hard (Rim Prep)
Cutting a new bike tube is not that hard, sticking it to the Rim is though.
It is time-consuming, frustrating when it sticks in the wrong place and if your tubes are not wide enough (like my ones were not, even though the guy I bought them off said they were) then it is going to be a hit or miss if it works.

Ideally, you want to have double sided tape not as wide as I was using. I just couldn’t get any narrower tape at the time. I used industrial style tape, so it is very sticky but also became a pain to work with if positioned wrong.
You need to be careful here that you don’t use weaker tape (like double sided stationary tape). The purpose of the double-sided tape is to ensure that the cut tube does not move on the RIM. It needs to be adhesive to the rubber tube and the alloy Rim and the material of the Liner.
Not only for the initial set up but if during riding you happen to have very low tyre pressure, you don’t want to have that cut tube moving around freely on your Rim as it could break the seal or rip the valve out.

The other Hard part of this process is ensuring the cut tube edges stretch to the inner edge of the Rim outer. This also covered any predrilled holes in the Rim by the manufacturer. The Rims are hollow, you need to cover these holes with Tape and also the cut tube. Otherwise, Air will escape.
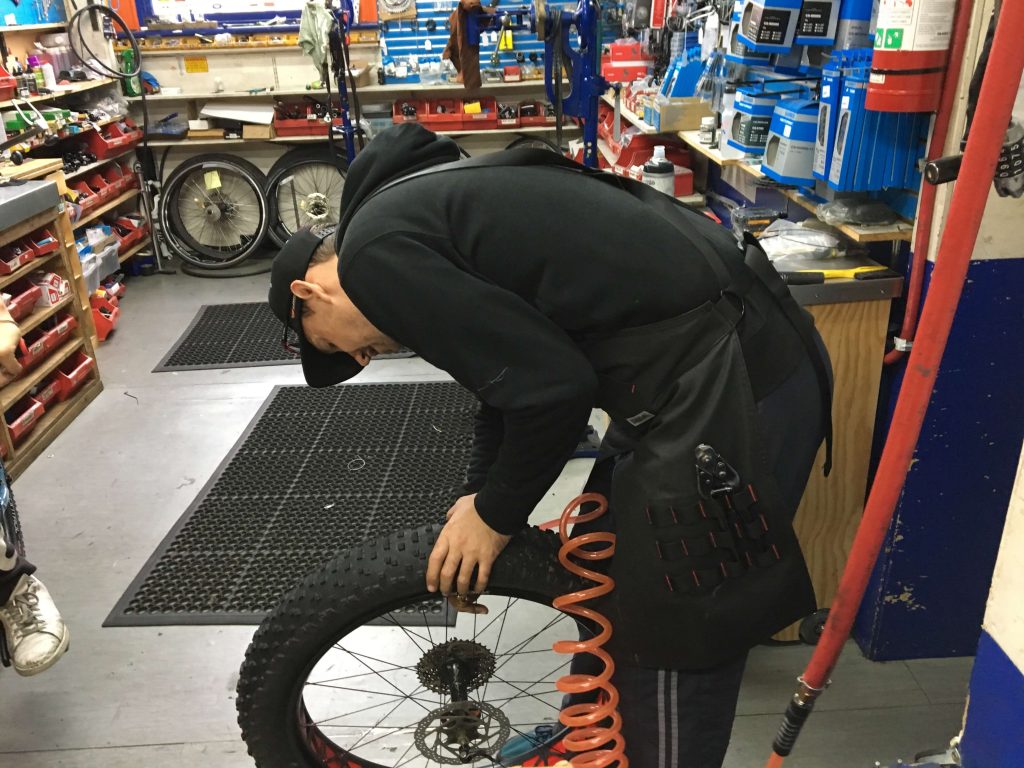
The Delegation (Local bike shop guys are awesome!)
If you have an Air Compressor you can probably do this part your self.
I was lucky to have the guys at the local bike shop tackle this part for me. Besides they are geared up for it and know more tricks of the trade than me to do a tubeless setup. (I also think they liked a challenge)
I was also privy to using their workshop and talking “bike’ with them while I did the Rim Prep above.
The bike mechanic placed the tyre on the Rim and blew it up. No sealant at this stage, we just wanted to know if this method of sealing would work. It did (well enough). There were some leaks but knowing it would bead well enough the sealant would take care of any leaks.
The first wheel to be done was the rear wheel. (There is no difference in the Rim Prep for the front or the rear.)
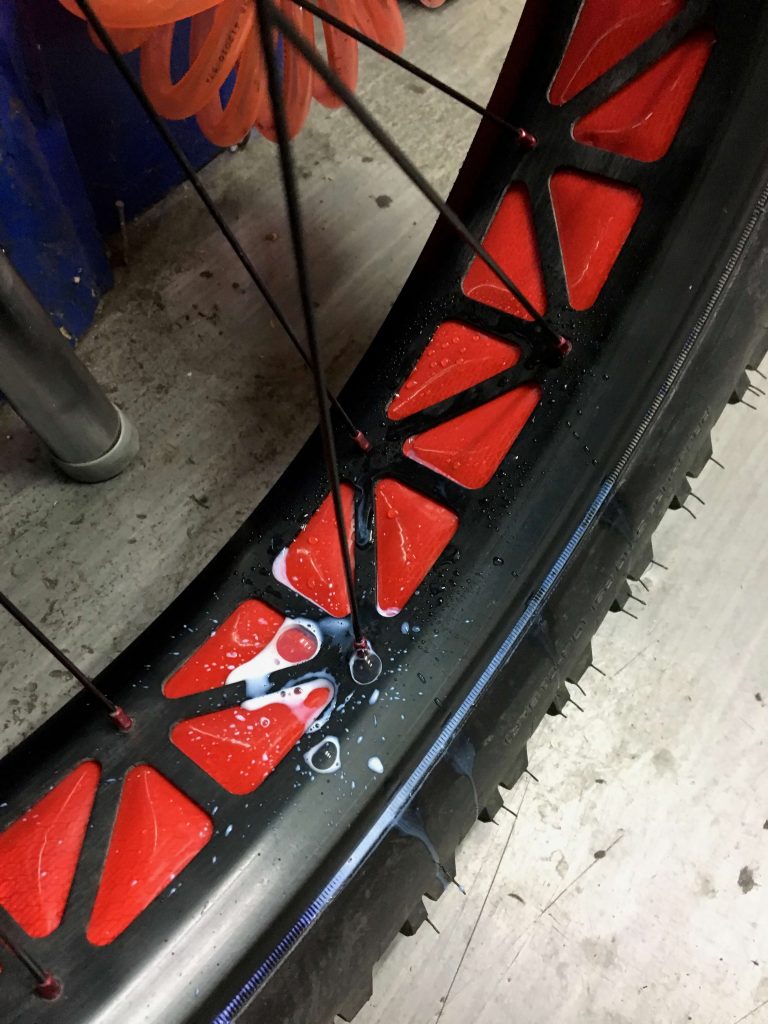
We used Muck off Tyre Sealant (an NZ $50 bottle of 1ltr, 500mls in each wheel)
500mls does seem to be a lot of fluid for a tubeless setup, however, we are talking 4.6″ wheels here. The more the merrier.
Here is a quick 30-second video, really just to show you the colour.
There were no leaks when inflated. As it was being inflated, the mechanic was tapping wriggling the tyre a bit to ensure it pushed out evenly onto the Rim forming a bead. The sealant took up any slack.
We thought we were onto a winner.
Pumped up to 20Psi and rotating the tyre around so that the sealant spread right around the inside of the Tyre. No leaks and we put it aside for the sitting test.
The Front tyre was done next. Same process, but this time it had about 2 leaks. Swirling the sealant around instantly fixed the leaks (magic stuff!)
Pumped up 20PSI and put aside. Things were looking good.
It took about 30 minutes for the rear tyre to deflate by itself. On inspection, it looked to be coming out through the Reflector strip on the inside middle of the Rim.
When pulled apart we could see where the problem was. Because the cut tube only just reached the inner edge of the Rim. We think during inflation, a section of that tube folded or pushed inwards. Probably just a small gap causing it.
Once apart we could see where the sealant had travelled to. Up and over the tube edge, to under the tube between the Rim and the tube soaking the liner etc.
No problems, let us do round two.
We sourced from the depths of the bike shop. a Kids Bike 24″ fatty tube. This time the tube would inflate to a massive 3″ max. We got the measuring tape out and concluded that once the tube is cut longways and spread out, it would overlap on the Rim. Perfect.
I had to remove all the double-sided tape, clean the Rim and then reapply the new tape. This time around I didn’t use so much double-sided tape, leaving gaps around the rim.
The theory here is the Tube being wider, so it only needs to stay in place, there doesn’t have to be an airtight seal between the tube and the Rim. Anyway, when inflated everything would squeeze up tight.
Wensleys Bike Mechanic took back over at this stage. Added the Tyre and inflated. Pop, she went up. He then deflated, split the bead and applied the ‘saved’ tubeless sealant from the previous attempt. Pop, Pop, she good to go.
Ironically that’s all it needed to create a bead is a rubber inner liner (formally masquerading as a 24″ Kids Fatty Tube)
Bloody Magic
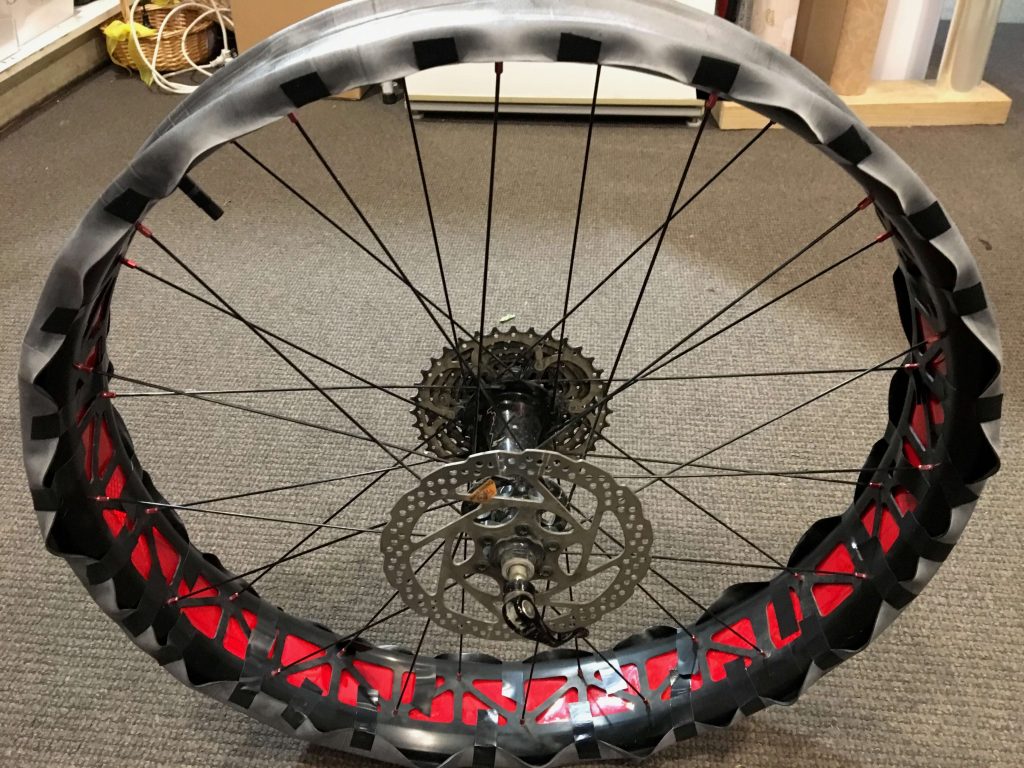
Left to do was to carefully trim back the overhang. Sharp scissors did the trick here, better than a stanely knife.
Ride Test Time
Making it tubeless is one thing, trying to break it is another. The Best way to really see if it works is riding it up and off things that ideally loads the Tyre at a different angle into its Rims.
My first ride was just the park behind the bike shop. Tree roots, Curbs, small rolling bumps, not really a trail of such just some good old fashion fun things to smash into, roll and bounce over.
WP Strava ERROR 403 Forbidden - See full error by addingdefine( 'WPSTRAVA_DEBUG', true );
to wp-config.php
- No problem, she stayed inflated.
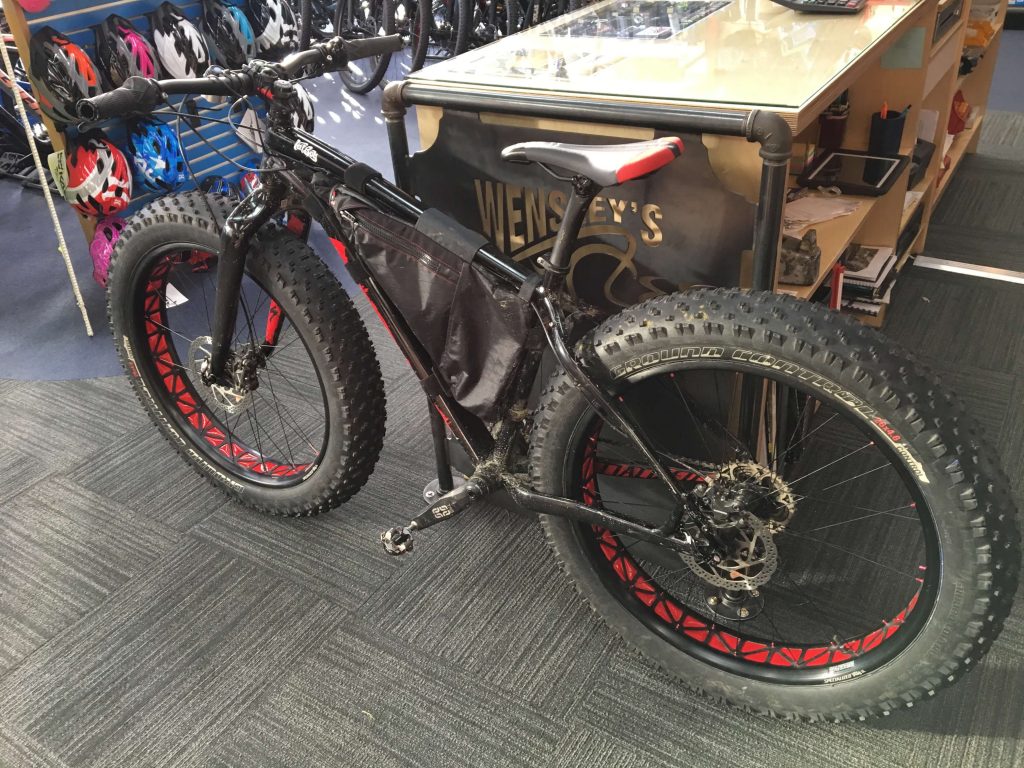
Maybe this is going to be a success after all